In this post, we will learn how to enable two-way data binding in Android.
When developing an app, it's very common to find a situation where the task you have to do is very similar to something you did in the past.
Last week I had to implement a two-way data binding on a Custom View in Kotlin and now I will note down, step by step, how to do it.
In order to make it a bit more educational, we will also use LiveData and ViewModel from android architecture components.
App overview
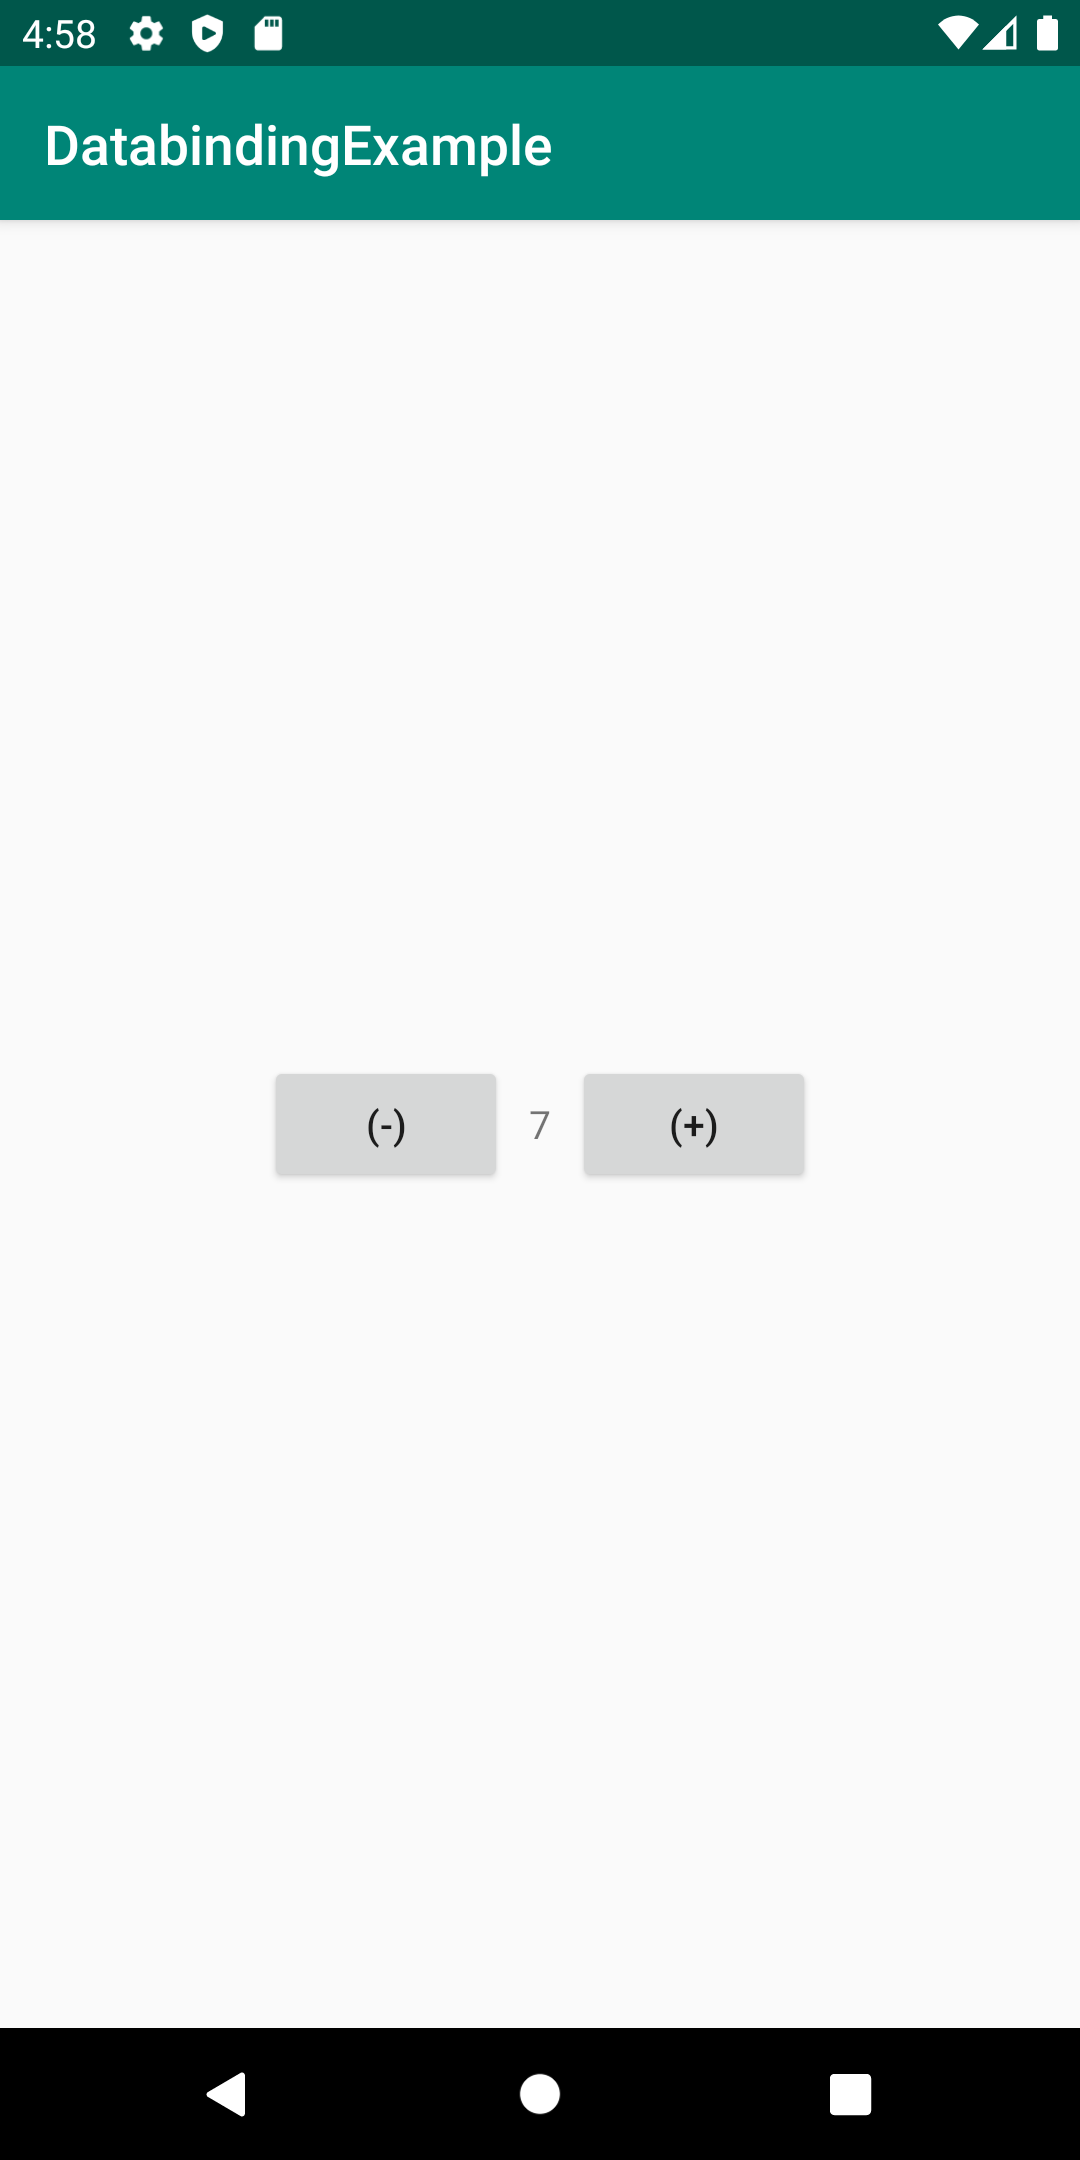
For this example, we are going to write a very simple counter with a (-) and (+) buttons that modify the total count. This counter will be isolated on a Custom View and of course, the total count will be shared to the Controller through a two-way data binding.
Here is a little index of what we are going to do:
- Create Kotlin Custom View
- Enable one-way data binding on this view
- Set the project structure with ViewModel and LiveData and attach it to the custom view
- Enable two-way data binding
Steps
I don’t want to make this post too long, so I will post the code in big chunks. If you need further explanation, I made a life coding video and of course, I uploaded the code to Github. so if you missed any step you can check it out there.
Prerequisites
Before we get started with the Custom View, I will create a blank Activity project on Android Studio.
Once we have it, let's enable data binding in our app first.
Add apply plugin: ‘kotlin-kapt’ on the top of app build.gradle.
and dataBinding { enabled = true } somewhere in the middle
Create Kotlin Custom View
In this post, I assume some experience on Android and Kotlin common practices and standards. So, I will copy-paste the full code without going into much detail on the basic things. Nevertheless, if you miss any step, please, check the live coding video, where I develop this app step by step.
First, the layout
<?xml version="1.0" encoding="utf-8"?>
  <layout
    xmlns:app="http://schemas.android.com/apk/res-auto"
    xmlns:tools="http://schemas.android.com/tools">

    <data>
      <variable
        name="view"
        type="com.kikebodi.databindingexample.AmountSelectorView" />
    </data>

    <LinearLayout
      xmlns:android="http://schemas.android.com/apk/res/android"
      android:orientation="horizontal"
      android:layout_width="wrap_content"
      android:layout_height="wrap_content">

      <Button
        android:layout_width="80dp"
        android:layout_height="80dp"
        android:padding="@dimen/spacing_half"
        android:text=”Minus”
        android:onClick="@{() -> view.onMinusClicked()}" />

      <TextView
        android:layout_width="wrap_content"
        android:layout_height="match_parent"
        android:gravity="center"
        android:padding="@dimen/spacing_standard"
        android:textSize="40sp"
        app:numberInput="@{view.selectedAmount}"
        tools:text="7" />

      <Button
        android:layout_width="80dp"
        android:layout_height="80dp"
        android:padding="@dimen/spacing_half"
        android:text=”Plus”
        android:onClick="@{() -> view.onPlusClicked()}" />
    </LinearLayout>
</layout>
Now, the Kotlin Custom View class
class AmountSelectorView @JvmOverloads constructor(context: Context, attrs: AttributeSet? = null, defStyle: Int = 0, defStyleRes: Int = 0)
 : LinearLayout(context, attrs, defStyle, defStyleRes) {

   val selectedAmount = ObservableInt(0)

   private val layoutInflater =
       context.getSystemService(Context.LAYOUT_INFLATER_SERVICE) as LayoutInflater
   private val viewBinding = AmountSelectorViewBinding.inflate(layoutInflater, this, true).apply {
       this.view = this@AmountSelectorView
   }

   fun onMinusClicked() = selectedAmount.set(selectedAmount.get() - 1)

   fun onPlusClicked() = selectedAmount.set(selectedAmount.get() + 1)
 }
So far, we have the Custom View ready. Now we can add it to the parent layout. In this case, it will be main_layout.xml
<com.kikebodi.databindingexample.AmountSelectorView
  android:id="@+id/amountView"
  android:layout_width="wrap_content"
  android:layout_height="wrap_content" />
At this point, you should be able to run the project and see a screen like this:
Enable one-way data binding
What we have so far is a regular Custom View, now let’s add the data binding tweak.
We will add the BindingAdapter to set our attribute.
@BindingAdapter("amount")
fun setAmount(newAmount: Int) {
  if(view.selectedAmount.get() != newAmount){
    view.selectedAmount.set(newAmount)
  }
}
Now, we should be able to set the counter throught the XML adding app:amount="@{7}" on our component in main_layout.xml
Set up LiveData and ViewModel and attach it to the custom view.
Let's prepare the app now to handle streams of data with LiveData and (although it’s not strictly necessary) ViewModel components. This way we will handle 4 of the 8 Android Architecture Components that exist, Data binding, Lifecycles, LiveData and ViewModel.
class MainViewModel: ViewModel() {
   val number = MutableLiveData()
}
Note that we defined a MutableLiveData value. The fact that is MutableLiveData and not LiveData will make it possible to attach to our two-way data binding component, otherwise, the data only has one way (which is great when reading from Database).
Now, define attach the ViewModel to the Activity.
val vm = MainViewModel().also {
   it.number.observe(this, Observer { amount ->
       Toast.makeText(this@MainActivity, "Amount selected: $amount", Toast.LENGTH_SHORT).show()
   })
}
What we are doing with the .observe method is attaching a Livecycle owner, which will tell the LiveData when to attach/detach itself (either the screen is shown or not).
Before attaching the variable to the component we need to enable data binding on MainActivity.
To attach the data into the XML we will have to inflate the view this way:
override fun onCreate(savedInstanceState: Bundle?) {
   super.onCreate(savedInstanceState)

   val layoutInflater = getSystemService(Context.LAYOUT_INFLATER_SERVICE) as LayoutInflater
   val view = ActivityMainBinding.inflate(layoutInflater).apply {
       activity = this@MainActivity
   }
   setContentView(view.root)
}
On the XML we will:
<?xml version="1.0" encoding="utf-8"?>
<layout>

  <data>
    <variable
      name="activity"
      type="com.kikebodi.databindingexample.MainActivity" />
  </data>

  <androidx.constraintlayout.widget.ConstraintLayout
    xmlns:android="http://schemas.android.com/apk/res/android"
    xmlns:app="http://schemas.android.com/apk/res-auto"
    xmlns:tools="http://schemas.android.com/tools"
    android:layout_width="match_parent"
    android:layout_height="match_parent"
    tools:context=".MainActivity">

  <com.kikebodi.databindingexample.AmountSelectorView
    android:id="@+id/amountView"
    android:layout_width="wrap_content"
    android:layout_height="wrap_content"
    app:amount="@={activity.vm.number}"
    app:layout_constraintBottom_toBottomOf="parent"
    app:layout_constraintEnd_toEndOf="parent"
    app:layout_constraintStart_toStartOf="parent"
    app:layout_constraintTop_toTopOf="parent" />

  </androidx.constraintlayout.widget.ConstraintLayout>
</layout>
The most important part here is the difference between @{} and @={}.
When the first enables regular data binding, the second defines two-way data binding.
Therefore, if we try to run the code now. It will fail.
Enable two-way data binding
@InverseBindingMethods(InverseBindingMethod(type = AmountSelectorView::class, attribute = "amount", method = "getAmount"))
object AmountBindingAdapter{
   @BindingAdapter("amount")
   @JvmStatic fun setAmount(view: AmountSelectorView, newAmount: Int) {
       if(view.selectedAmount.get() != newAmount){
           view.selectedAmount.set(newAmount)
       }
   }

   @InverseBindingAdapter(attribute = "amount")
   @JvmStatic fun getAmount(view: AmountSelectorView): Int {
       return view.selectedAmount.get()
   }

   @BindingAdapter("amountAttrChanged")
   @JvmStatic fun setListeners(view: AmountSelectorView, attrChange: InverseBindingListener?){
       view.selectedAmount.addOnPropertyChangedCallback(object : Observable.OnPropertyChangedCallback(){
           override fun onPropertyChanged(sender: Observable?, propertyId: Int) {
               attrChange?.onChange()
           }
       })
   }
}
Now, we are done. Run the project and see how simple and clean is the usage of our Custom View.
There is a small Easter egg hidden into the code we just did.
There is one part of the code that may lead to a data leak.
Could you find where?
If you did, write me on LinkedIn and tell me how you would fix it.